Tips for Photos with Your Harvested Deer
Harvesting an animal is a significant moment for any hunter, and many choose to capture it with a photo alongside their gear. To best preserve the memory of the experience, while honoring your harvest, consider the following tips for taking great photos.
When selecting a background, choose an area that yields good contrast with the animal’s features. The background should capture the essence of the terrain and habitat you hunted and be free of distractions like cars, houses, and fences. Remove all debris and clutter in the frame, such as weeds in front of the deer. And position the deer far enough away from the background to prevent a cluttered look.
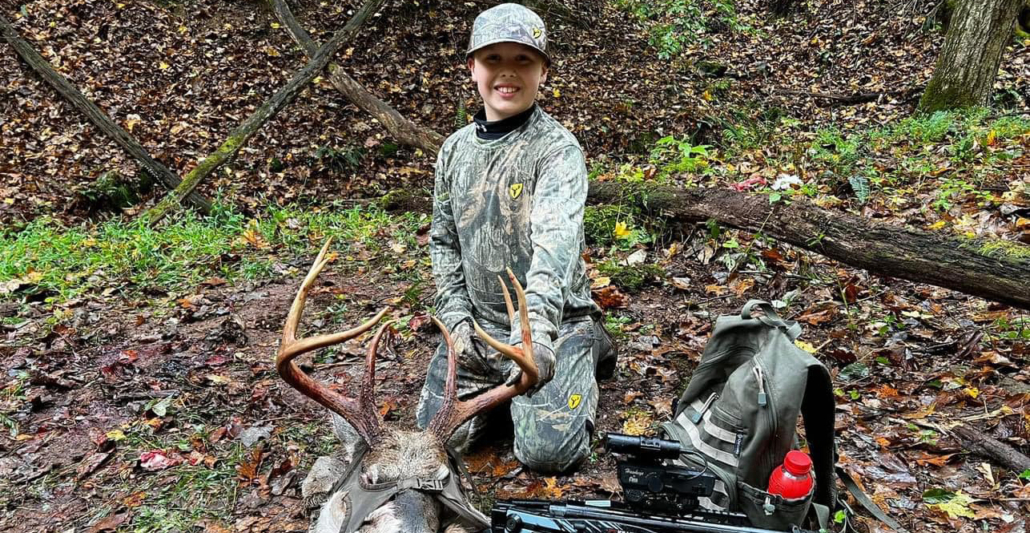
Including your crossbow or weapon of choice in the picture will help tell the story. Be sure to remove the arrow from the flight rail and point the crossbow in a safe direction. You will want to lean the crossbow against the deer’s body, so it does not detract from the deer’s facial features.
One of the biggest challenges in taking a good harvest photo is ensuring adequate lighting. Light tends to be at its softest early and late in the day, and colorful sunset skies can be beautiful backgrounds. On sunny days, the camera should face away from the sun, while the deer and hunter face towards the sun. If a photo needs to be taken in darkness, enable the flash setting on your camera and use a flashlight or other light source to add light to the scene.
With the deer as the primary subject of the photo, be sure to clean any excess blood, mud, or debris from the animal’s coat or face. Face any large exit wounds away from the camera and address the animal’s tongue by removing it or putting it back in its mouth. Many hunters like to place the deer in a “bedded” position, with its legs tucked underneath its body. This pose looks great and gives viewers a good perspective on the animal.
 When it comes time to take your photo, place the camera at eye-level or below the deer’s head. Position yourself behind or beside the deer in a comfortable kneeling or sitting position. You can grasp the antlers of a buck near the base while resting your elbow on your knee, allowing you to hold the head for a longer time. Additionally, you may want to prop a log under the animal’s backside shoulder, to assist in keeping its front legs tucked and its neck upright.
Start with wide shots, framing the image to leave plenty of space around the subjects. Take lots of photos, from different angles, and in both horizontal and vertical orientation. If you plan to hunt alone, be sure to familiarize yourself with your camera’s timer settings beforehand. You may even consider investing in a small tripod or camera stand.
With a small investment of time and effort, good photos will forever capture the memory of the harvest. Killer Instinct is passionate for the hunt, and our gear combines next-level design, innovation, and uncompromising quality—giving you the confidence to create the brag-worthy photo opportunities of your dreams. Shop online or at an authorized retailer to explore our deadly performance technical products.

